How to download your own data from Facebook
From the same series on how to access, delete, download, transfer your data when using a major Online Social Service (Facebook) or email Provider (i.e. Google, Yahoo), today E-Crime Expert explains how a user can have access and also download his/her data Facebook collects and keeps under that particular user account.
Follow the steps bellow if you would like to have access to the data Facebook holds under your account:
1. Log on Facebook and access the “Settings” tab. From there, click on the “Account settings” from the drop-down menu (Fig. 1).
Fig. 1.

2. Navigate to the “General Account Settings” tab and click on the “Download a copy of your Facebook data” (on the bottom of the page). Fig. 2.
Fig. 2.

3. You will be promoted with a message that enables you to download your data. Also, Facebook warns the users in regards to the sensitive character of the data under their personal Facebook account. Think twice before downloading your data if you do not trust the computer you are using (i.e. Public Library, etc.). If you do trust it, just click the “Download archive” button in order to get access to your data. Fig. 3.
Fig. 3.

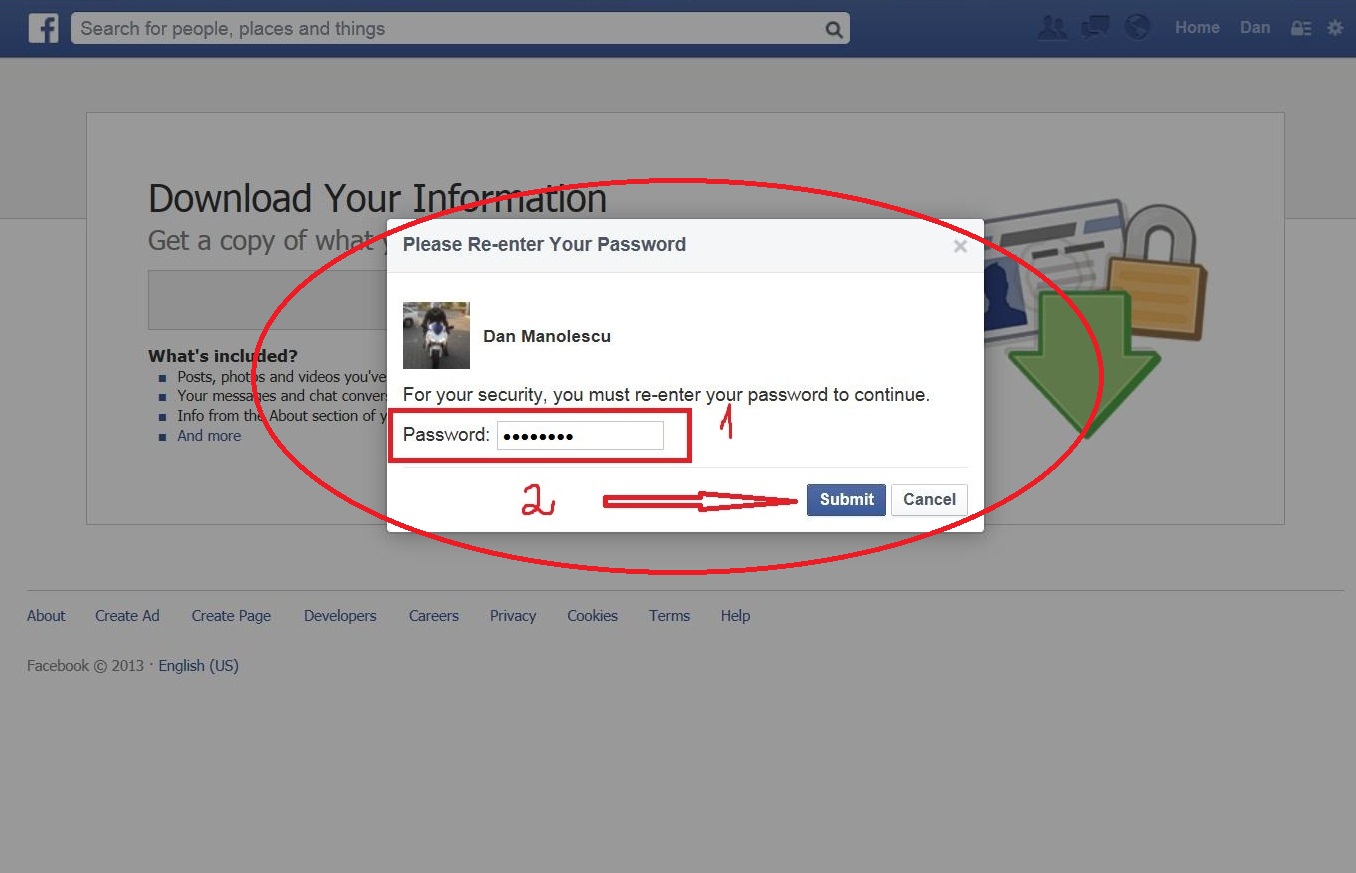
4. Next, you will need to type your password again, even though you are logged into your account (for security reasons). After typing your password, click on the “Submit” button. (Fig. 4).
Fig.4.
5. Again, a message is displayed informing the user which data will be downloaded: Pictures, archives, messages, timeline posts, AND MORE! (Fig. 5).
Fig. 5.

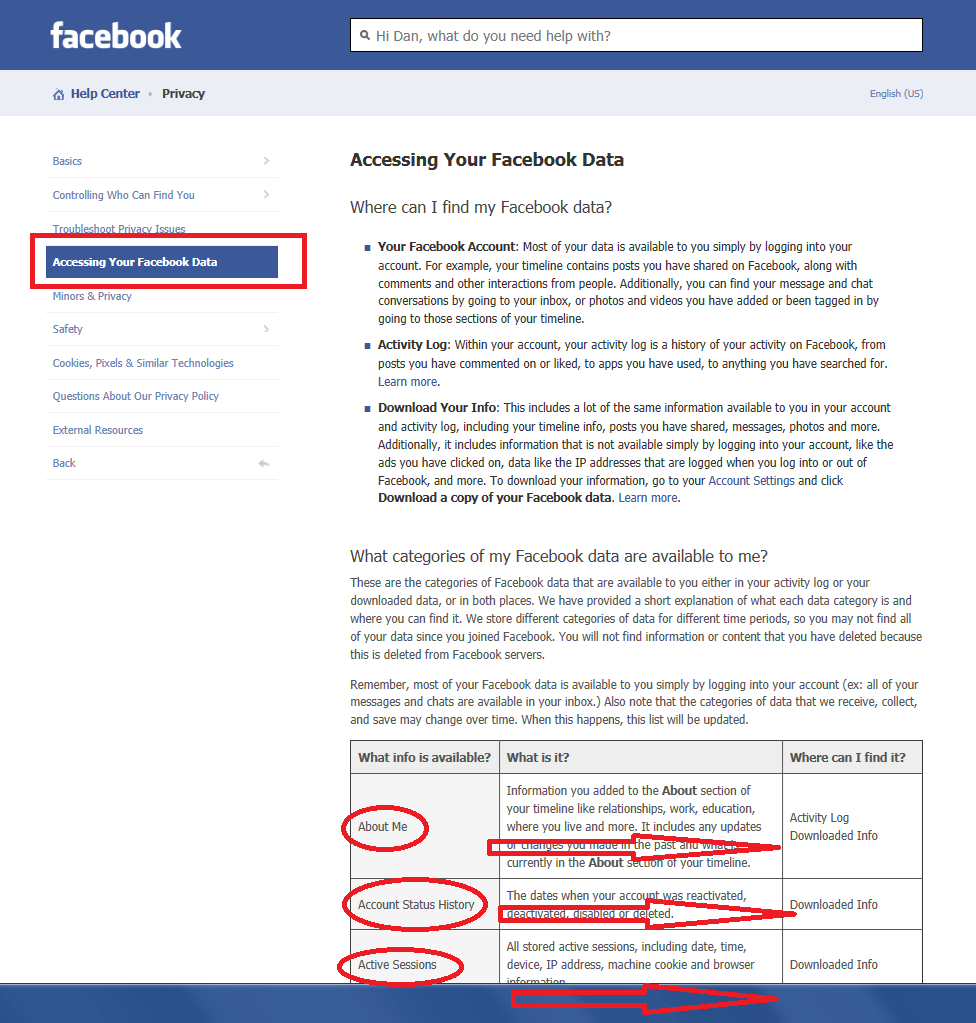
6. Also, you can manually chose to select what data you would like to download such as: photos, messages, videos, etc. For this, click here and you will be automatically redirected to another page where you could select what data you want to download (Fig.6). Or you could also click on the “And more” tab as shown in Fig.5 above.
Fig.6.
7. Now, depending on your Operating System (i.e. Windows or Apple), or your Browser (i.e. Internet Explorer or Safari) and also on the time elapsed since you last requested your data from Facebook (if ever), your data will either start downloading immediately to your computer or it will be sent to the email address associated with your Facebook account. We are explaining bellow both possibilities:
I. Data starts downloading immediately.
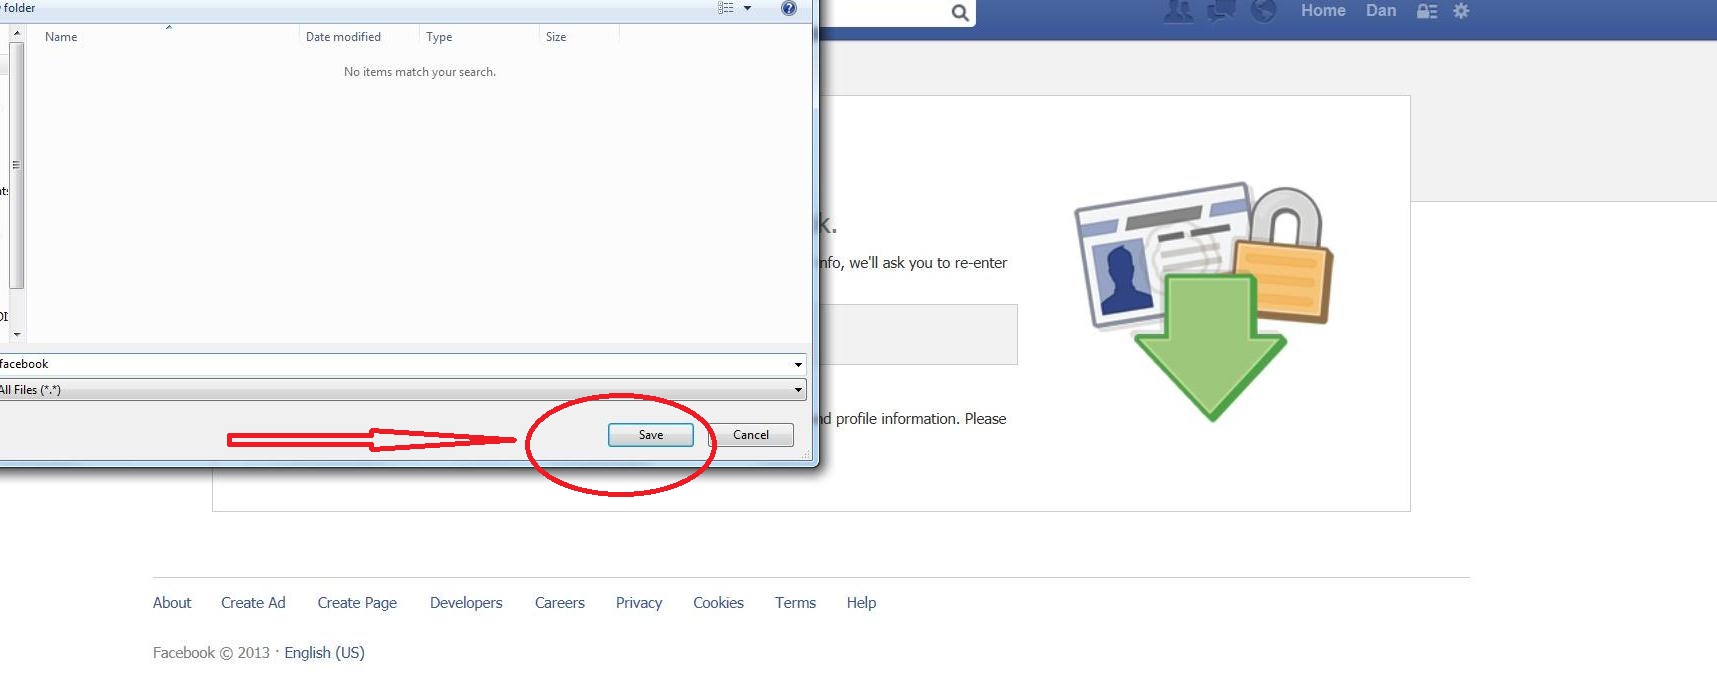
After clicking the “Submit” button (see Fig. 4 above), you will be prompted to save your data on your computer. Chose a location you are familiar with and also which it is neither public nor shared with other users and click “Save”. Your data will start downloading automatically. (Fig.7).
Fig.7.
II. Data is sent to the email address associated with your Facebook account.
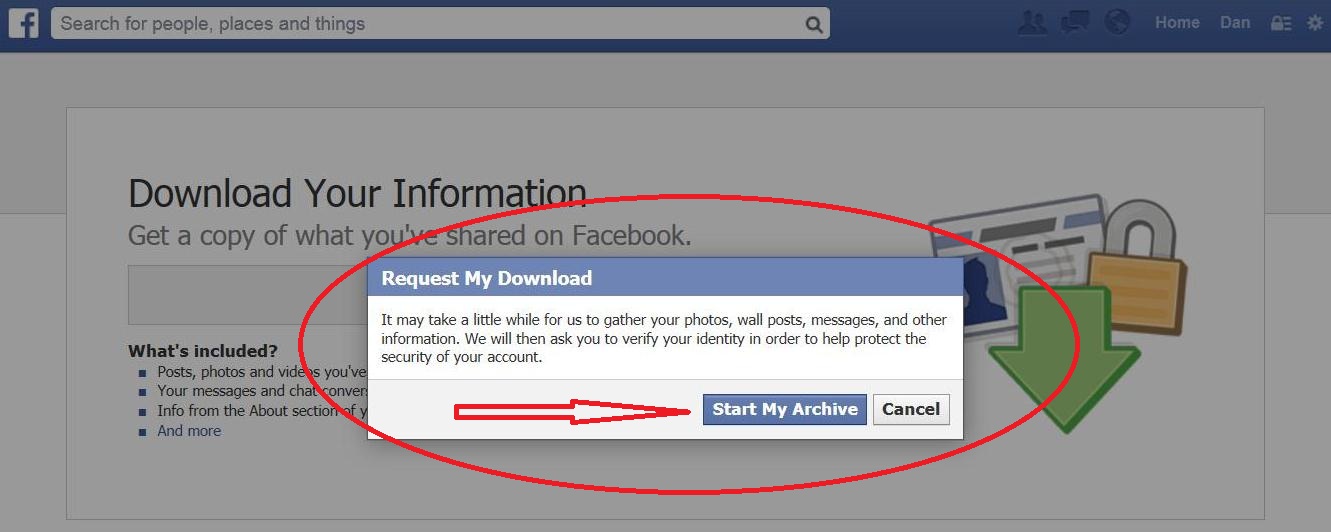
You will be prompted with another message called “Start my archive”. Click on it. (Fig. 8).
Fig.8.
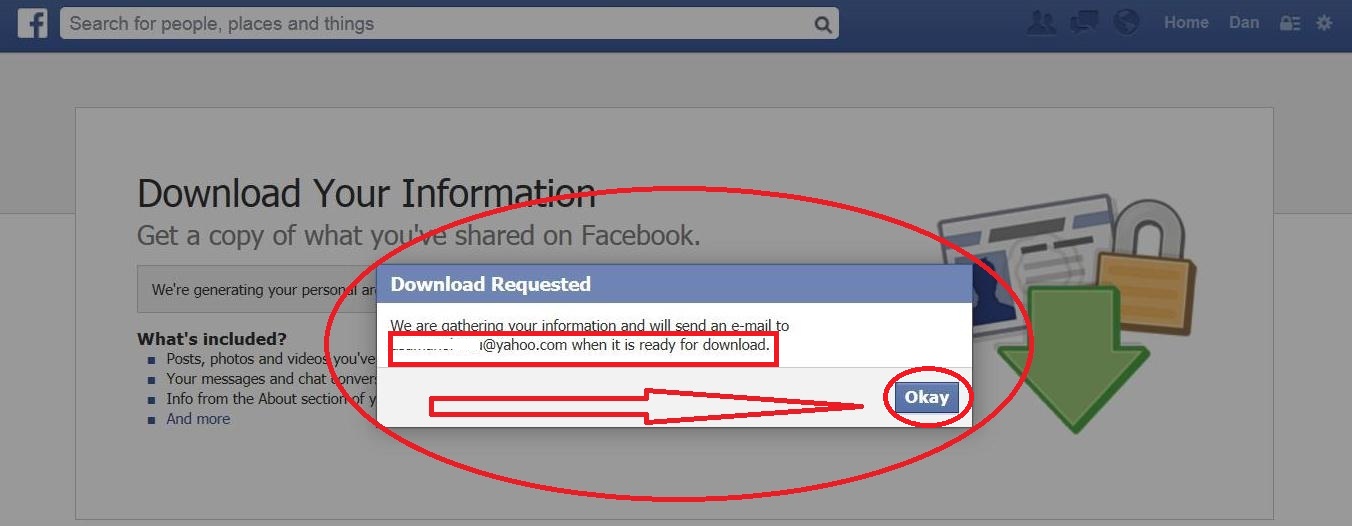
-The email address associate with your Facebook account is displayed in order for the user to confirm that this is the right email address. If so, click on “Okay”. (Fig. 9).
Fig.9.
-Check your Inbox folder (under your email account) and click on the message received from Facebook. On the bottom of the message you will find a link similar to this: https://www.facebook.com/joe.doexfnr11……..Qdxwe…..rlaA9LVP. Click on it. (Fig. 10).
Fig.10.

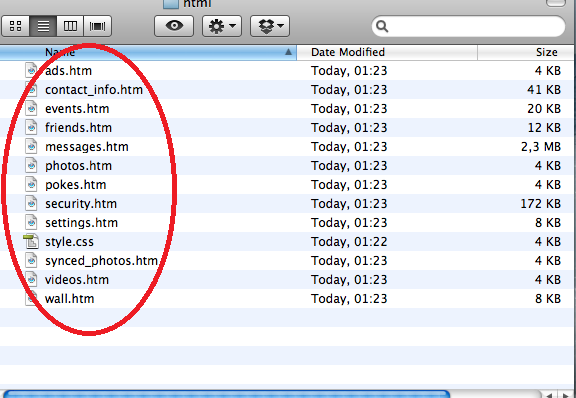
-Again, be careful and chose a location you are familiar with and also which it is neither public nor shared with other users and click “Save”. Your data will start downloading automatically. The folder with your Facebook data will look like in the pictures bellow. (Fig. 11 and 12).
Fig. 11.

Fig.12.
Any questions can be submitted to: dan@e-crimeexpert.com
Additional information can be found at: http://www.e-crimeexppert.com
To find out more about Dan Manolescu, visit his LinkedIn page here.
Hit the “subscribe” button in order to be notified when new videos and Articles are posted on this blog
www.e-crimeexpert.com
E-Crime Expert for Android

